
How to Easily Handle Door Closer Adjustment at Home
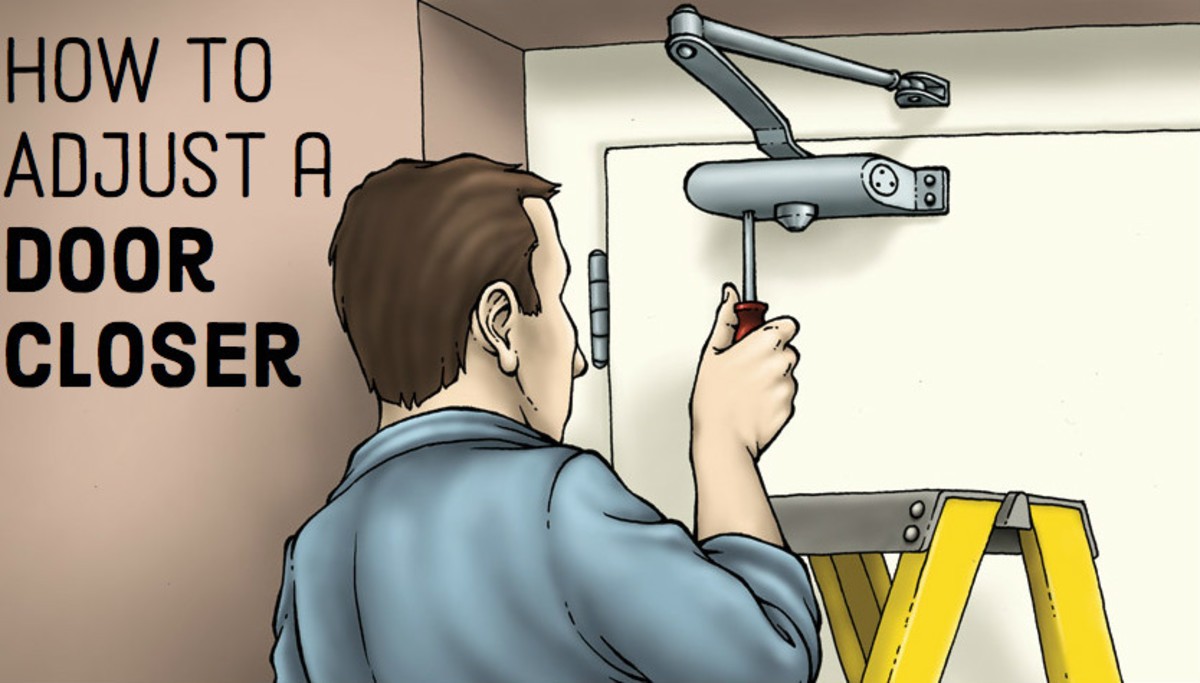
Door closer adjustment is important to make sure your doors open and close smoothly. If your door is slamming too hard or not closing all the way, a small adjustment can fix the issue. It might sound tricky, but with a few simple steps, you can adjust the door closer without calling a professional.
To start, find the adjustment screws on the door closer. These screws control how fast the door closes and latches. By turning the screws slowly, you can make the door work perfectly. In this guide, we will explain how to adjust a door closer step by step. Let’s make your door easy to use again!
What Is a Door Closer and Why Does It Need Adjustment?
A door closer is a device that controls how a door closes after it is opened. You’ve probably seen them on heavy doors in offices, schools, or public buildings. They make sure doors close gently and completely, which keeps noise down and improves security.
Over time, the settings of a door closer can shift. This can make the door slam too hard or not latch properly. Door closer adjustment is needed to fix these problems and keep the door working properly.
Why Adjustment Is Important
- Prevents damage to the door and frame
- Improves safety by ensuring doors close securely
- Reduces noise from slamming doors
By understanding how a door closer works, you’ll see why regular adjustment can save you from expensive repairs.

Common Problems That Require Door Closer Adjustment
Many door issues can be fixed with a quick adjustment. Some common problems include doors slamming shut, staying open too long, or not latching. Each issue commonly has a simple fix.
Signs Your Door Closer Needs Adjustment
- The door closes too quickly or forcefully
- It doesn’t fully close and leaves a gap
- The door sticks or feels too heavy when opening
By identifying these signs early, you can avoid bigger problems later. Adjusting your door closer will solve most of these issues quickly.
Tools You Need for Door Closer Adjustment
Get the necessary gear before you begin changing your entryway closer. This ensures the process is smooth and easy.
Essential Tools
- A screwdriver (usually flathead or Phillips)
- Allen keys or hex wrenches
- A step stool or ladder (if the door closer is mounted high)
Having these tools ready will make your job much easier. Make sure to check your door closer model for any specific tools it might require.

Step-by-Step Guide: How to Adjust a Door Closer
Now let’s learn how to adjust your door closer step by step. Each adjustment fixes a specific issue, like how fast or slow the door closes. Follow these instructions carefully.
Adjusting the Closing Speed
The closing speed determines how fast the door moves before it latches. If the door is slamming, slow it down by turning the speed screw clockwise. If it’s too slow, turn the screw counterclockwise.
Steps:
- Locate the closing speed screw on the door closer.
- Turn the screw clockwise to slow the door or counterclockwise to speed it up.
- Test the door after each adjustment to see the result.
Fixing the Latching Speed
The latching speed controls the final few inches before the door closes completely. If the door doesn’t latch, adjust this screw.
Steps:
- Find the latching speed screw near the closing speed adjustment.
- Turn it slightly to change how the door latches.
- Test and repeat until the door latches securely.
Small changes make a big difference, so adjust the screws slowly.
Safety Tips for Door Closer Adjustment
While adjusting a door closer is simple, there are safety tips to keep in mind. These tips help avoid damaging the door closer or injuring yourself.
- Always use the correct tools to prevent slipping.
- Turn screws slowly to avoid over-tightening.
- Test the door after every adjustment to ensure proper function.
By being careful, you’ll get the best results without causing any harm.
How to Test If Your Door Closer Is Adjusted Correctly
Once you’ve made adjustments, it’s time to test your work. A well-adjusted door should close smoothly and latch securely. Testing helps you spot any areas that still need fixing.
Steps for Testing
- Open the door fully and let it close naturally.
- Watch the speed and listen for slamming or sticking.
- Check if the door closes all the way and latches properly.
If something doesn’t seem right, go back and adjust the screws again. Proper testing ensures your door works perfectly.
When Should You Call a Professional for Door Closer Adjustment?
Some door issues are too complex to handle alone. If you’ve tried adjusting the door closer but it still doesn’t work, it might be time to call an expert.
Signs You Need Professional Help
- The door closer is leaking oil
- Screws are stripped or broken
- The closer is old and not functioning properly
Professionals have the tools and experience to fix tough problems. Don’t hesitate to call them if your efforts don’t work.
Maintenance Tips to Avoid Future Door Closer Problems
Regular maintenance can prevent door closer issues and save you from frequent adjustments. A little care goes a long way in keeping your doors in great shape.
Simple Maintenance Tips
- Clean the door closer regularly to remove dust and dirt.
- Assuming the screws are free, actually look at them and fix them.
- Inspect the closer for leaks or damage every few months.
Following these tips will keep your door closer working smoothly for years.
Why Regular Door Closer Adjustment Improves Door Lifespan
Door closer adjustment not only fixes immediate problems but also extends the life of your door. Properly functioning doors experience less wear and tear, which means fewer repairs in the long run.
Benefits of Regular Adjustment
- Prevents strain on door hinges and frames
- Reduces noise and improves user experience
- Keeps the door secure and energy-efficient
Taking care of your door closer ensures your doors last longer and work better.
Conclusion
Adjusting a door closer may seem tricky, but it’s really simple when you follow the right steps. With just a screwdriver and a bit of patience, you can fix common problems like slamming doors or doors that won’t close all the way. By making these adjustments, your doors will work better and last longer.
Remember, regular maintenance is important to keep your door closer in great shape. Clean it, check for loose screws, and test it every few months. Over the long haul, this will set aside you time and cash. Now that you know how to do door closer adjustment, you can handle it with confidence!
FAQs
Q: What does an entryway closer act as?
A: A door closer helps doors close gently and securely after being opened.
Q: Why is my door slamming shut?
A: This happens when the closing speed is too fast. Adjust the speed screw to fix it.
Q: How often should I adjust my door closer?
A: You should adjust it whenever you notice problems like slamming or incomplete closing.
Q: What tools do I need to adjust a door closer?
A: You’ll need a screwdriver, Allen keys, and possibly a step stool for high-mounted closers.
Q: Can I adjust the door closer myself?
A: Yes, most adjustments are simple and can be done without professional help.
Q: When would it be advisable for me to look for master help?
A: If your door closer leaks oil, has broken screws, or doesn’t work after adjustments, call an expert.